![]()
OpenStack Initial Configuration
Immediately after a fresh OpenStack deployment, the default admin project will the only tenant available - as a best practice, you should avoid working on this project, because it gives access to global configuration settings with impact on all the remaining tenants that you’ll create. So the first step, as admin Role, will be:
-
create a new Project (or Tenant) and define Quotas for this Project
-
create one or more Users and assing to the primary Project
-
create one or more Groups for that Project and add Users to the Groups - this will simplify the User management by
-
for the initial steps, you don’t need to define new Roles to set specific policies
Now that you have a Project (ie, resource isolation), logon to that project (using the new User credentials) and begin the tenant specific configuration, namely:
-
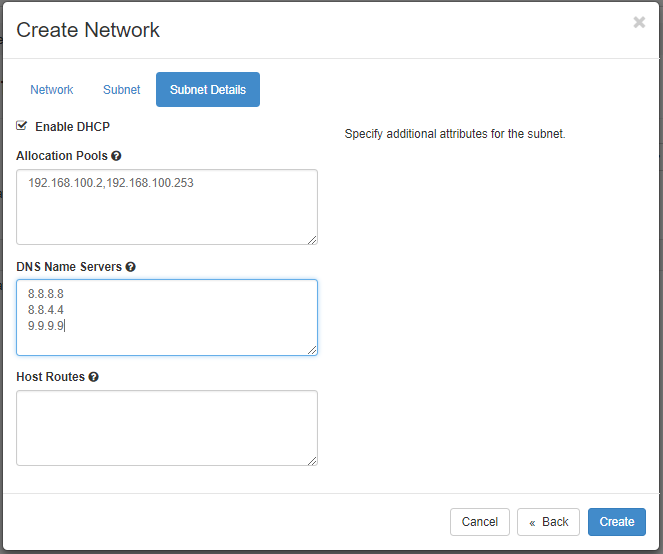
create a Public network (to get connectivity to other external networks) and its subnet
-
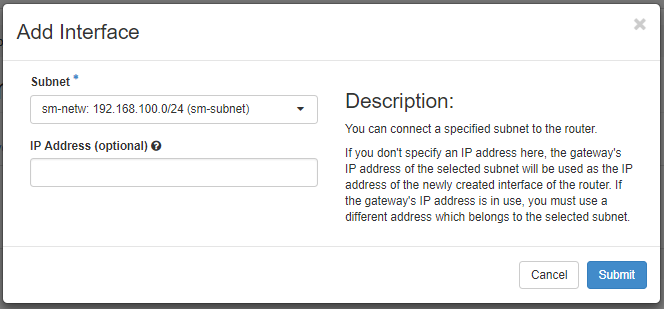
create a Router with an interface to the external network
-
create an Interface on the Router to the tenant’s Public network
After the Public network configuration, you can now connect to other networks on other isolated tenants and even to the Internet. From now, you are able create new VM with its proper key pairs ans security groups.
Create a new Project, User and Group
The creation of a new Project requires admin privileges, so logon as admin.

Create a Project
Identity --> Project --> + Create Project

And set the quotas for this tenant:
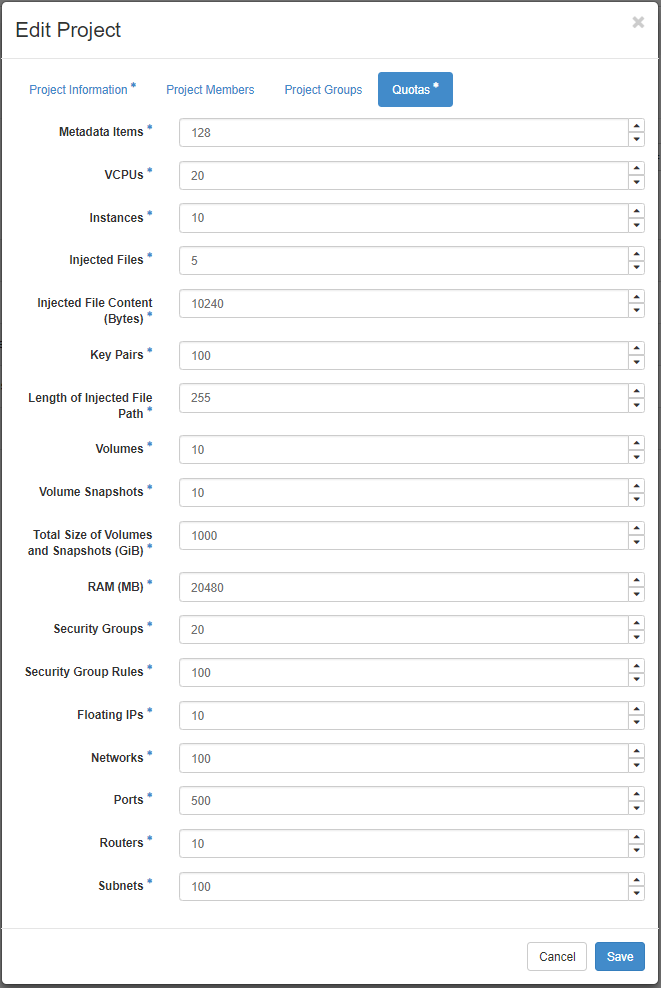
Later you can change the quota limits by setting new values for the tenant’s quota:
Identity --> Project --> Edit Project --> Modify Quotas
Create User
Identity --> User --> + Create User

Create Group
Identity --> Group --> + Create Group

Add a User to the Group
Identity --> Group --> + Add User

Manage the tenant’s resources
The tenants resources like VM, Networks and Storage are managed by the tentant’s User on a self-service basis. The initial logon will looks like:

Configure the connectivity to the External networks
The tenant resources are instantiated in an isolated environment. To get access to the external networks, you must create a Public network for this tenant.
Create a Network
Project --> Network --> Networks --> + Create Networks


Create a Router
Project --> Network --> Networks --> + Create Router

Create an Interface
Project --> Network --> Networks --> + Create Router --> select the new Router --> Interfaces --> + Add Interface
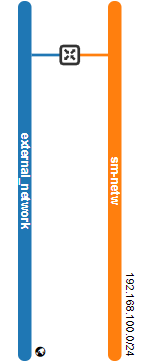
That’s it! You have now connectivity to the external networks has show in the next image. Note that you can create as many private networks as you like, depending on the topology of the Network Service.
Create a VM
Before the creation of your first guest machine be sure that you have the required resources available, namely:
-
load or create a public key to use on passwordless VMs
-
upload the Images to the Image Catalogue (Glance service) - official QCOW2 /blob/master/images/opnstk with cloud-init already inside are available at Get Images
-
create Security Groups (something similar to an Openstack Firewall for youe VM’s) to allow protocols and ports per VM
Import your public Key of your personal key pair
Project --> Compute --> Key Pairs --> Import Public Key

Upload a new Image to the Catalogue
Project --> Compute --> Images --> + Create Image

Create a Security Group
Project --> Network --> Security Group --> + Create Security Group

Then, add rules to the Security Group:
Project --> Network --> Security Group --> select the new Security Group --> Manage Rules --> + Add Rule

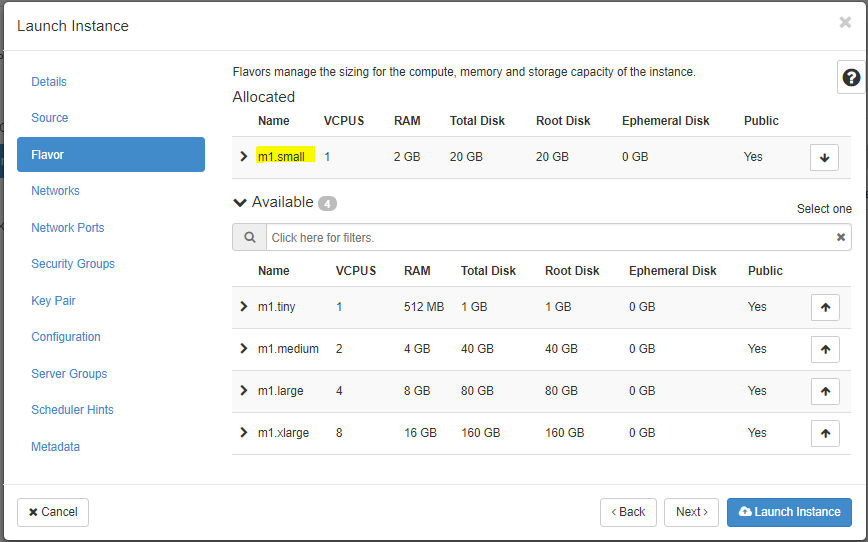
Create a VM
Project --> Compute --> Instances --> Launch Instance